SEO AI
By Asim Akhtar (CEO)
10 Easy Steps to Yoast SEO Setup in WordPress 2024

Step 1: Install the Yoast SEO Plugin
To begin the Yoast SEO setup process in WordPress 2024, the first step is to install the Yoast SEO plugin.
This plugin is widely regarded as one of the best SEO plugins available for WordPress, and it offers a range of powerful features to help optimize your website for search engines
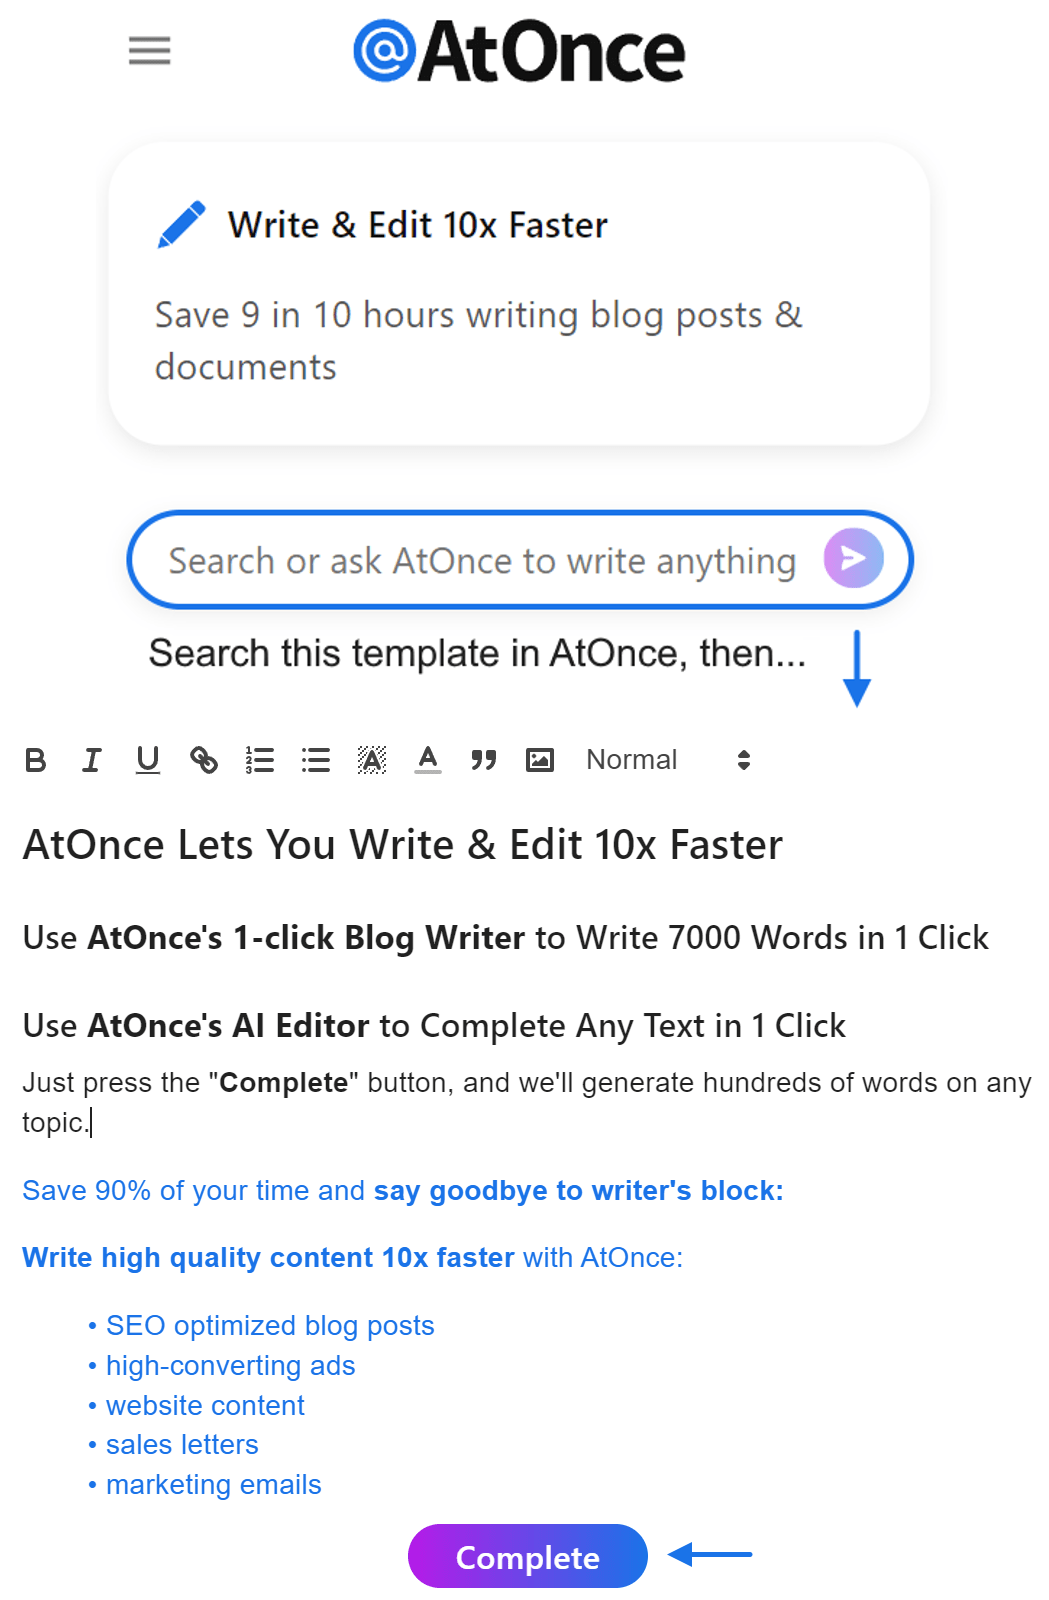
Here's an example where I've used AtOnce's AI SEO writer to generate high-quality articles that actually rank in Google:
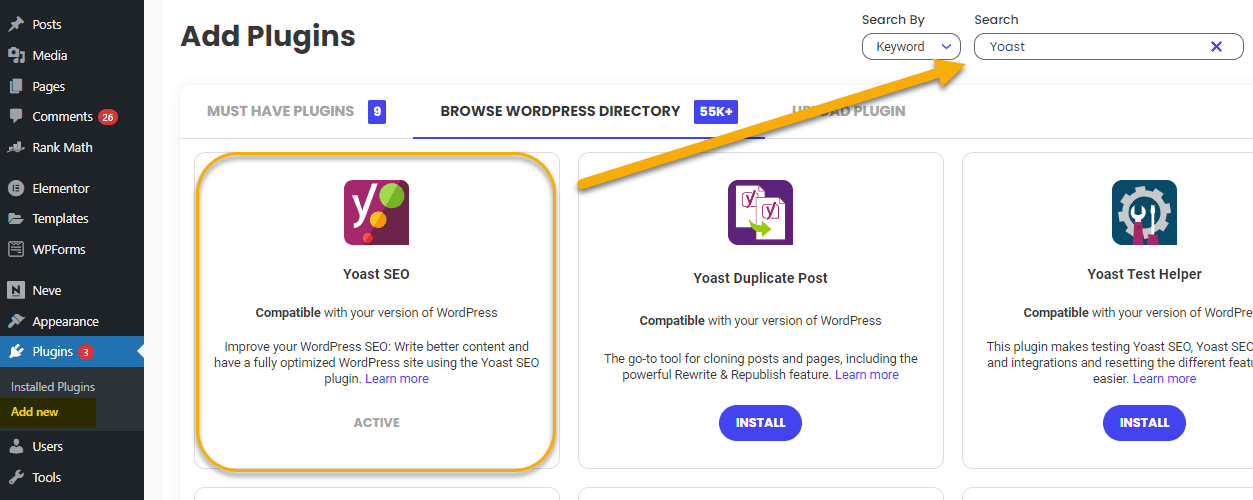
How to Install the Yoast SEO Plugin
To install the Yoast SEO plugin, follow these simple steps
- Login to your WordPress dashboard.
- Click on "Plugins" in the left-hand menu.
- Click on "Add New".
- In the search bar, type "Yoast SEO".
- Click on the "Install Now" button next to the Yoast SEO plugin.
- Once the installation is complete, click on the "Activate" button.

After installing and activating the Yoast SEO plugin, the next step is to configure the general settings.
These settings will help Yoast SEO understand your website and optimize it accordingly.
How to Configure the General Settings
To configure the general settings in Yoast SEO, follow these steps:
- Click on "SEO" in the left-hand menu of your WordPress dashboard.
- Click on "General".
- Click on the "Open the configuration wizard" button.
- Follow the steps in the configuration wizard to set up Yoast SEO for your website.
- Once you have completed the configuration wizard, click on the "Close the configuration wizard" button.
One of the most important aspects of SEO is optimizing your site's title and meta description.
These elements appear in search engine results and can greatly impact your click-through rate
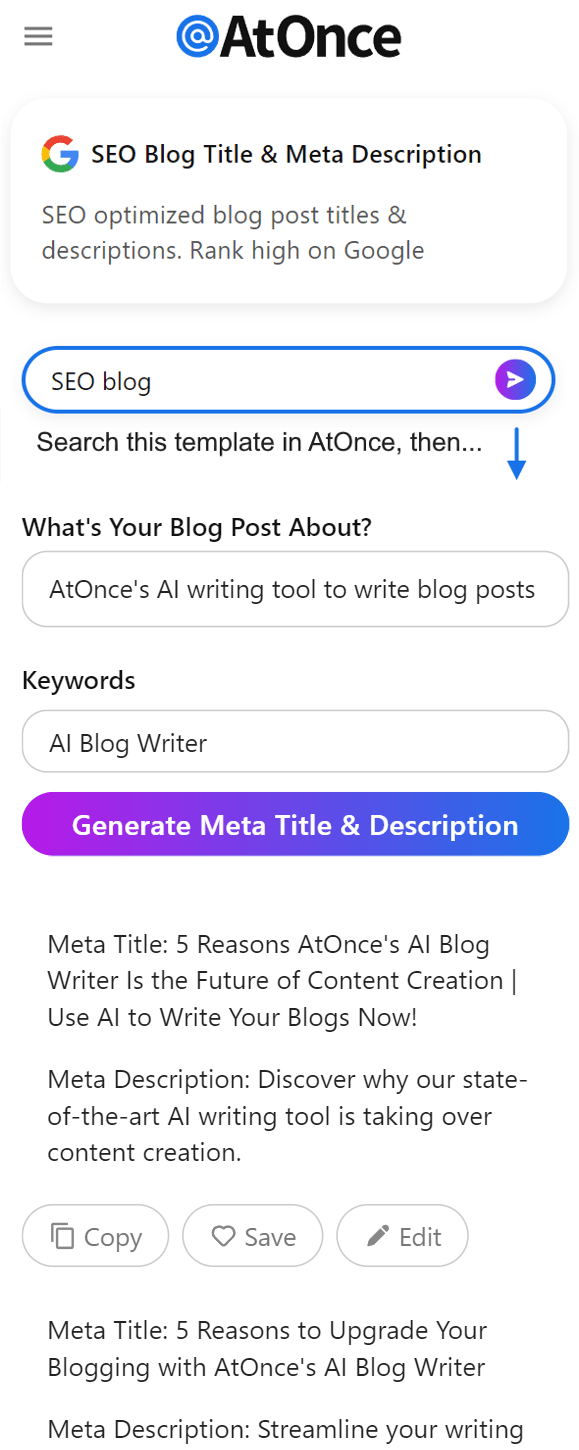
Example of me using AtOnce's AI meta description generator to increase click-through rates on our pages:
How to Set Up Your Site's Title and Meta Description
To set up your site's title and meta description in Yoast SEO, follow these steps:
- Click on "SEO" in the left-hand menu of your WordPress dashboard.
- Click on "Search Appearance".
- Click on the "General" tab.
- Enter your site's title in the "Title Separator" field.
- Enter your site's meta description in the "Meta Description Template" field.
- Click on the "Save Changes" button.
Step 4: Optimize Your Content with the Yoast SEO Analysis
Yoast SEO offers a powerful content analysis feature that can help you optimize your content for search engines.
This analysis takes into account factors such as keyword usage, readability, and more.
How to Optimize Your Content with the Yoast SEO Analysis
To optimize your content with the Yoast SEO analysis, follow these steps:
- Edit a post or page in your WordPress dashboard.
- Scroll down to the Yoast SEO section.
- Enter your focus keyword in the "Focus Keyphrase" field.
- Review the analysis provided by Yoast SEO.
- Make any necessary changes to improve your content's optimization.
- Click on the "Update" button to save your changes.
Step 5: Create XML Sitemaps
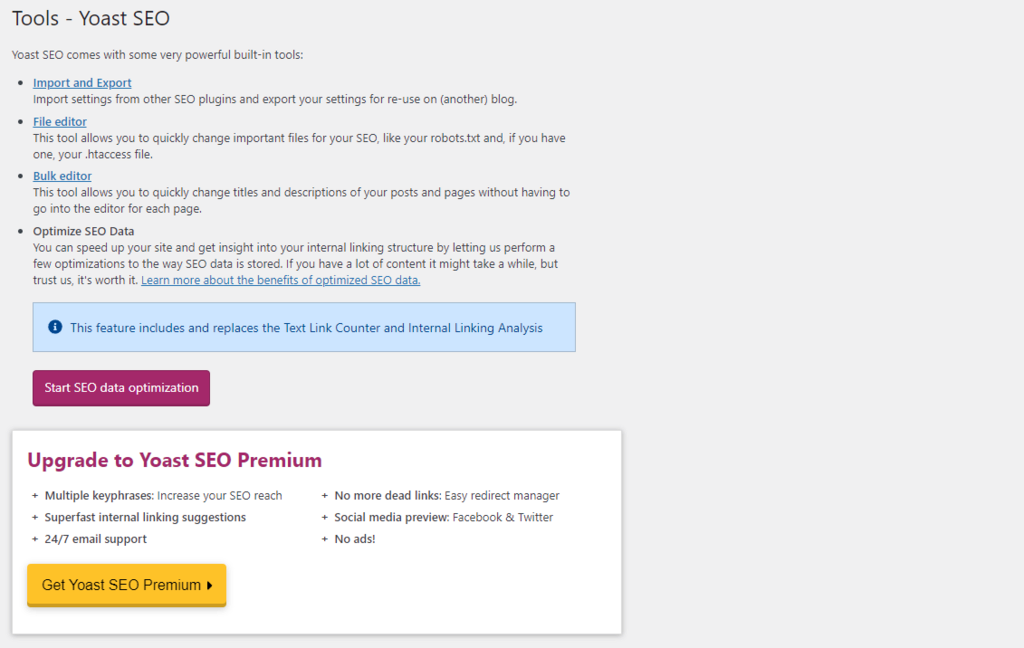
XML sitemaps are an essential part of SEO as they help search engines understand the structure of your website and index your pages more efficiently.
Yoast SEO makes it easy to create and manage XML sitemaps for your WordPress site.
How to Create XML Sitemaps with Yoast SEO
To create XML sitemaps with Yoast SEO, follow these steps:
- Click on "SEO" in the left-hand menu of your WordPress dashboard.
- Click on "General".
- Click on the "Features" tab.
- Toggle the "XML sitemaps" switch to enable XML sitemap functionality.
- Click on the "Save Changes" button.
- Click on the "XML Sitemaps" tab.
- Toggle the "XML sitemap" switch to enable XML sitemap generation.
- Click on the "Save Changes" button.

Social media integration is an important aspect of SEO as it can help increase your website's visibility and drive more traffic.
Yoast SEO allows you to easily integrate your website with popular social media platforms.
How to Set Up Social Media Integration with Yoast SEO
To set up social media integration with Yoast SEO, follow these steps:
- Click on "SEO" in the left-hand menu of your WordPress dashboard.
- Click on "Social".
- Click on the "Accounts" tab.
- Enter the URLs of your social media profiles in the respective fields.
- Click on the "Save Changes" button.
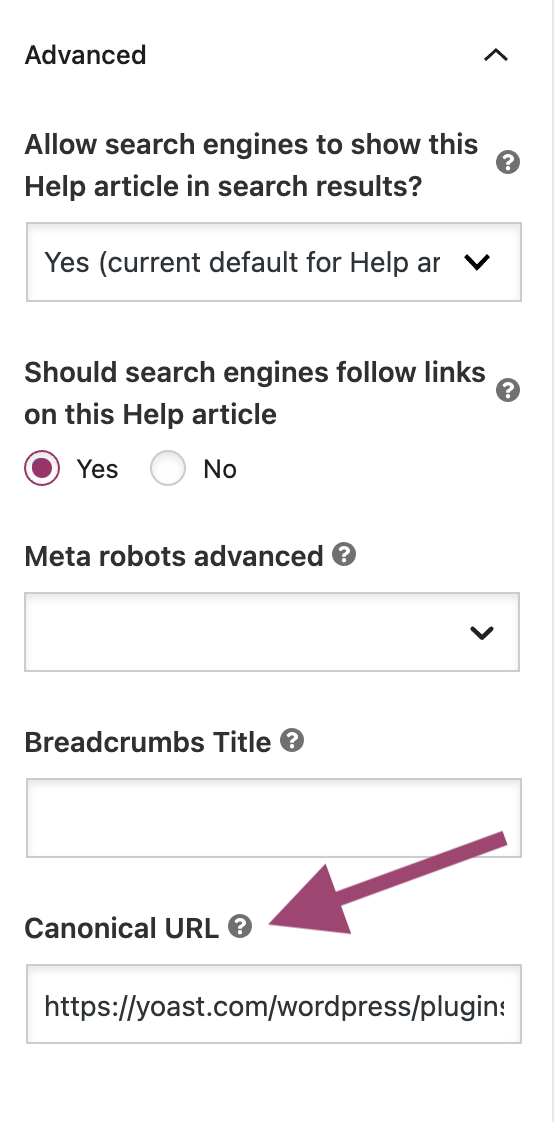
Yoast SEO offers a range of advanced settings that can further enhance your website's SEO.
These settings allow you to customize various aspects of Yoast SEO to better suit your needs.
How to Configure Advanced Settings in Yoast SEO
To configure advanced settings in Yoast SEO, follow these steps:
- Click on "SEO" in the left-hand menu of your WordPress dashboard.
- Click on "Advanced".
- Click on the "Features" tab.
- Toggle the switches to enable or disable specific features.
- Click on the "Save Changes" button.

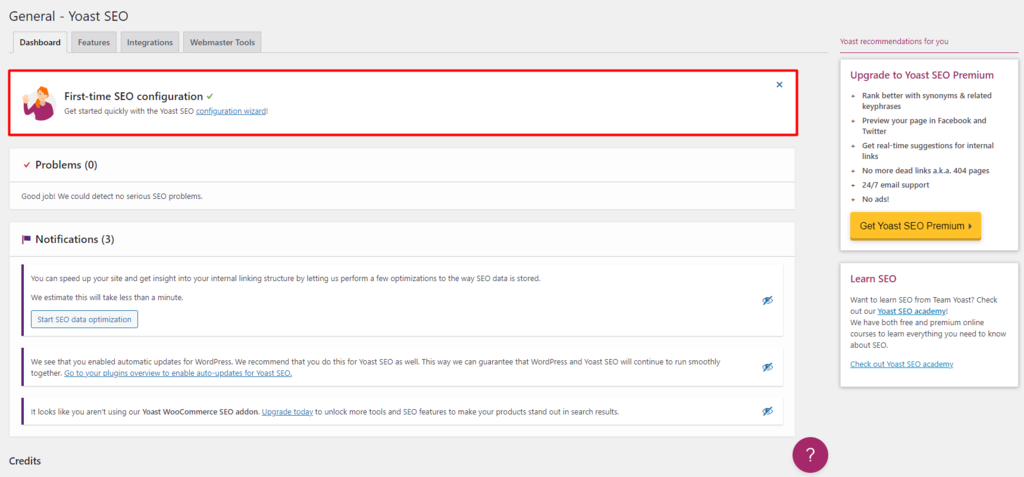
Yoast SEO provides valuable insights into your website's performance and SEO efforts.
By monitoring these metrics, you can identify areas for improvement and make data-driven decisions to optimize your website further.
How to Monitor Your Website's Performance with Yoast SEO
To monitor your website's performance with Yoast SEO, follow these steps:
- Click on "SEO" in the left-hand menu of your WordPress dashboard.
- Click on "Dashboard".
- Review the various metrics and insights provided by Yoast SEO.
- Use this information to identify areas for improvement and optimize your website accordingly.
Step 9: Stay Up to Date with Yoast SEO
Yoast SEO is continuously updated to ensure compatibility with the latest WordPress versions and to incorporate new SEO best practices.
It is essential to keep your Yoast SEO plugin up to date to take advantage of these updates and improvements.
How to Stay Up to Date with Yoast SEO
To stay up to date with Yoast SEO, follow these steps:
- Click on "Plugins" in the left-hand menu of your WordPress dashboard.
- Locate the Yoast SEO plugin.
- If an update is available, click on the "Update Now" link.
- Alternatively, you can enable automatic updates for the Yoast SEO plugin by clicking on the "Enable auto-updates" link.
Want To Get More Traffic To Your Site?
Over 15,763 SEO agencies and brands are using AtOnce to rank higher on Google.
It lets you write hundreds of articles on any topic, giving you more clicks to your site.

Get more traffic and sales — without wasting months of your time.
Click Here To Learn More
How do I set up Yoast SEO on WordPress?
To set up Yoast SEO on WordPress, follow these steps: 1. Install the Yoast SEO plugin from the WordPress plugin repository. 2. Activate the plugin. 3. Go to the Yoast SEO settings page and configure the plugin according to your preferences. 4. Start optimizing your content using the Yoast SEO features.
What are the key features of Yoast SEO for WordPress?
Yoast SEO for WordPress offers several key features, including: 1. On-page optimization: Yoast helps you optimize your content for search engines by providing real-time analysis and suggestions. 2. XML sitemap generation: The plugin automatically generates XML sitemaps to help search engines crawl and index your site. 3. Social media integration: Yoast allows you to optimize your content for social media platforms, improving your visibility and click-through rates. 4. Readability analysis: The plugin provides insights on the readability of your content, helping you create user-friendly articles. 5. Advanced settings: Yoast SEO offers advanced settings for more control over your site's SEO, such as canonical URLs and breadcrumbs.
Is Yoast SEO free for WordPress?
Yes, Yoast SEO has a free version available for WordPress users. The free version offers a wide range of features, including on-page optimization, XML sitemap generation, and social media integration. However, Yoast also offers a premium version called Yoast SEO Premium, which provides additional features like multiple focus keywords, redirect management, and 24/7 support. The premium version is available for a fee.

Asim Akhtar
Asim is the CEO & founder of AtOnce. After 5 years of marketing & customer service experience, he's now using Artificial Intelligence to save people time.
Read This Next
10 Proven On-Page Optimization Techniques for Your Website in 2024
10 Tips to Boost Your Search Engine Ranker GSA in 2024
10 Easy Steps to Configure Yoast SEO in 2024
10 Must-Have SEO Widgets for WordPress in 2024